Step-by-step guide to installing Nomirun CLI

Nomirun is easy to install and comes in two parts. The first part is installing the Nomirun command line interface tool (CLI) with which you will intialize and download all relevant packages. Nomirun runs best on PowerShell Core but should work fine on other platforms too.

Requirements

Operating system Description
Windows 11 You can run Nomirun CLI on Windows 11 21H2 22000.2538 and above with .NET 9.0.
Ubuntu Linux You can run Nomirun CLI on Ubuntu 22.04 and above with .NET 9.0.
MacOs Not yet tested.

Download

accept-license.png accept-license.png accept-license.png

Now run the installer and follow the setup wizard.

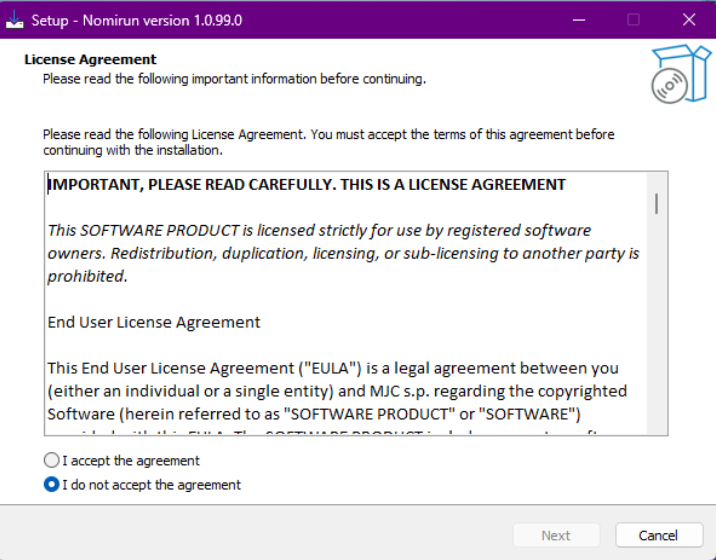
2. Accept license agreement screen
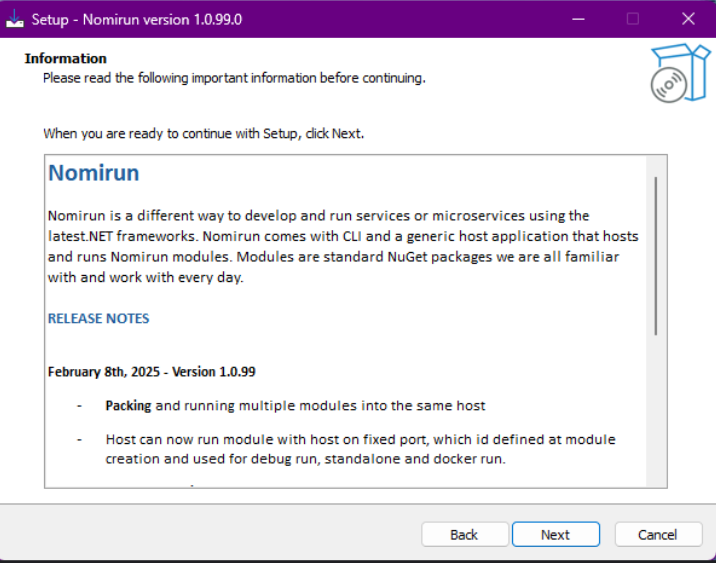
accept-license.png

3. What’s new screen

release-notes.png

4. Add Nomirun CLI to PATH environment variable for easy access

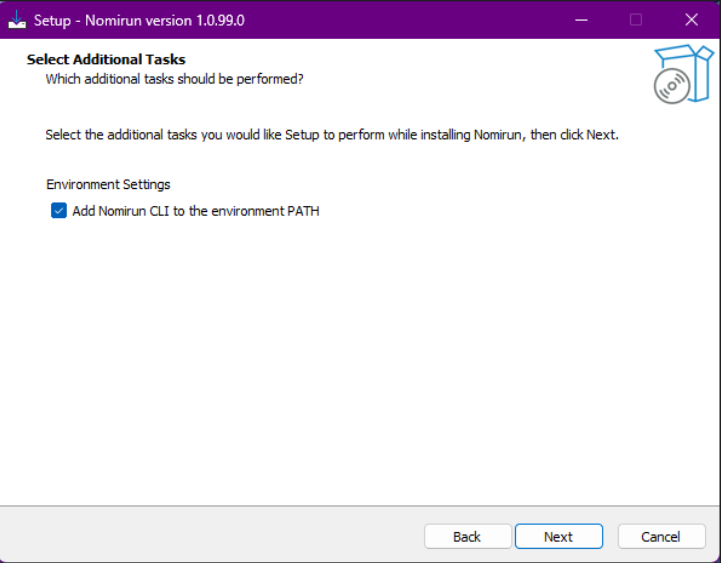
Add Nomirun CLI to PATH variable so it’s accessible in PowerShell from anywhere.
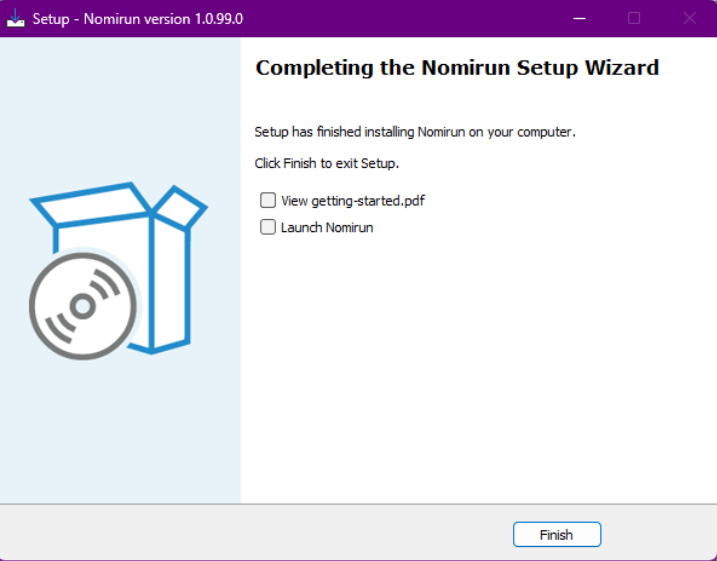
path-env-var.png

5. Ready to install

img.png

6. Installation progress

installation.png

7. Completed

img.png

8. First run and initialization

Open up the PowerShell and type nomirun, or nomi for short. If you see the help screen, your CLI has installed successfully.

Next step is to run nomirun init command to initialize the Nomirun on your PC.

The initialization step downloads the latest version of the Nomirun Host and downloads an AI model used for AI capabilities of Nomirun CLI.

Next you need to specify Nuget server where you will host your Nomirun modules. When building a module, you specify the server name to which you want to publish the Nomirun module NuGet package (nupkg).

Welcome to Nomirun CLI initialization.
In order to build and run modules, you need to specify Which Nuget server you want to configure? You can configure one or more. For development we suggest you use `LocalFolder`.

[] Azure DevOps
[] GitHub
[] Baget
[] Feedz.io
[] Local Folder

Currently, we support five options for Nuget server, you can select 1 or more:

  1. Azure DevOps
  2. GitHub
  3. Baget—if you run your own instance of Baget NuGet server, you can select it.
  4. Feedz.io - is an alternative feed that is very flexible.
  5. Local Folder - is advised to use it for local development for debug and standalone Nomirun Hosts. Do not use for containerized hosts as in containers the nuget server needs to be accessible from HTTP in the container.

Once you select Nuget server(s), wizard will navigate you to configure it. In the end, the configuration is stored.

You can also rerun the initialization, overwriting the configuration file previously created.

9. Configure your development environment

You can develop Nomirun modules in all major .NET development environments:

.NET SDK 9.0 is installed automatically when you run Nomirun CLI installer.

For Visual Studio 2022+ and Jetbrains Rider 2024+ there is no special setup needed, it works our of the box.

For Visual Studio Code you need to install C# Dev Kit as Visual Studio Code is a multi-language development tool. If you already use Visual Studio Code for C# .NET development, then you probably do not have to do anything.

Now you are ready to build your first Nomirun module :).