Create and develop new Nomirun module
1. Create new Nomirun module
Now you can create your first module. You can type nomirun module new -h to get the help with the command.
An example:
❯ nomirun module new --module-name CrmService --net-version net10.0 --module-type WebApiThis will generate the new module with initial template. The module is a .NET library.
When the module is generated, it will automatically open a solution in Visual Studio, Visual Studio Code or Jetbrains Rider.
You can use
--git-initflag to initialize git repository automatically.
2. Develop and debug Nomirun module
Once you create a module, Nomirun can automatically open your favourite IDE or editor. That depends on the assigned
application that can open *.sln file.
2.1. Develop module in Jetbrains Rider 2024+
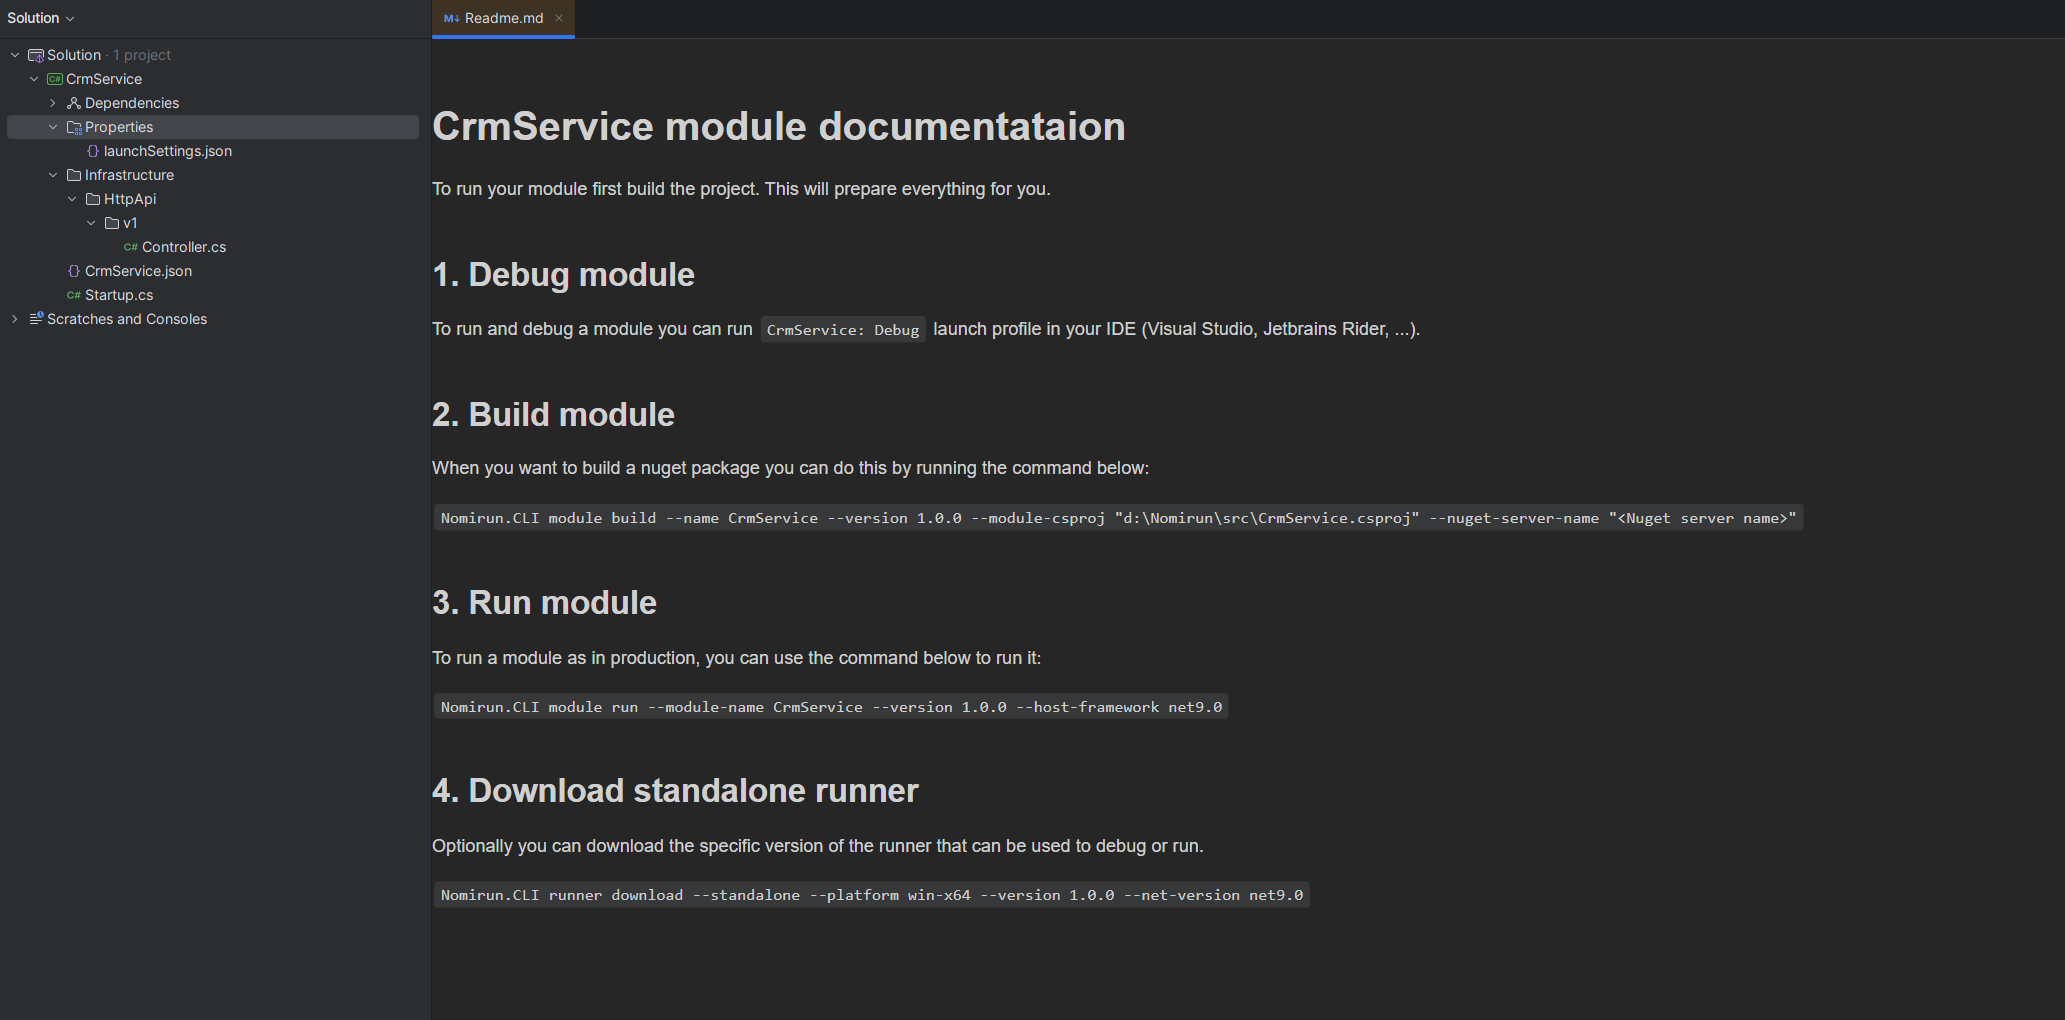
When the module is open in Jetbrains Rider, you will see the Readme.md file.
Next, you build the code by clicking on the build icon in the toolbar:

Once built, you can run the debugger in the toolbar:

Once the host application is running, then you can navigate to the server. In case below it’s http://localhost:5310.

Please note that the port is automatically assigned.
Then you can navigate to http://localhost:5310/swagger. The Default username and password for Swagger are: user/
pass and those can be configured in the Nomirun Host settings.
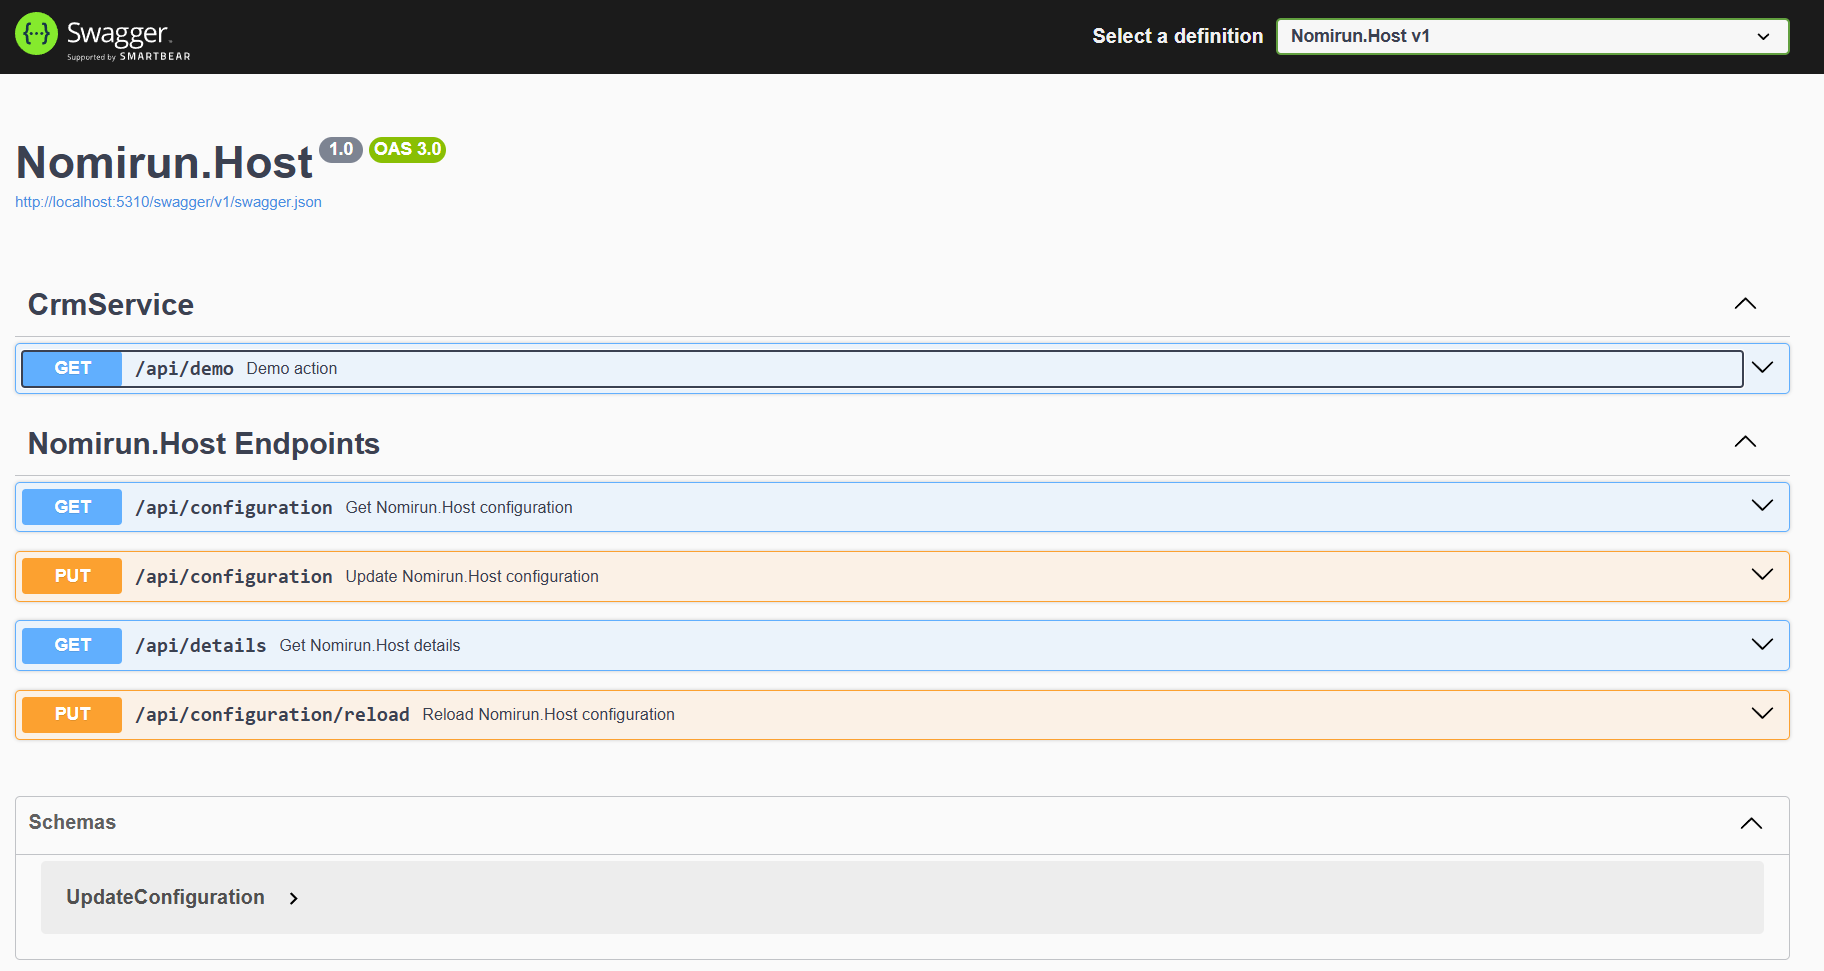
Now you can execute some requests with Swagger.
2.2. Develop module in Visual Studio 2022+
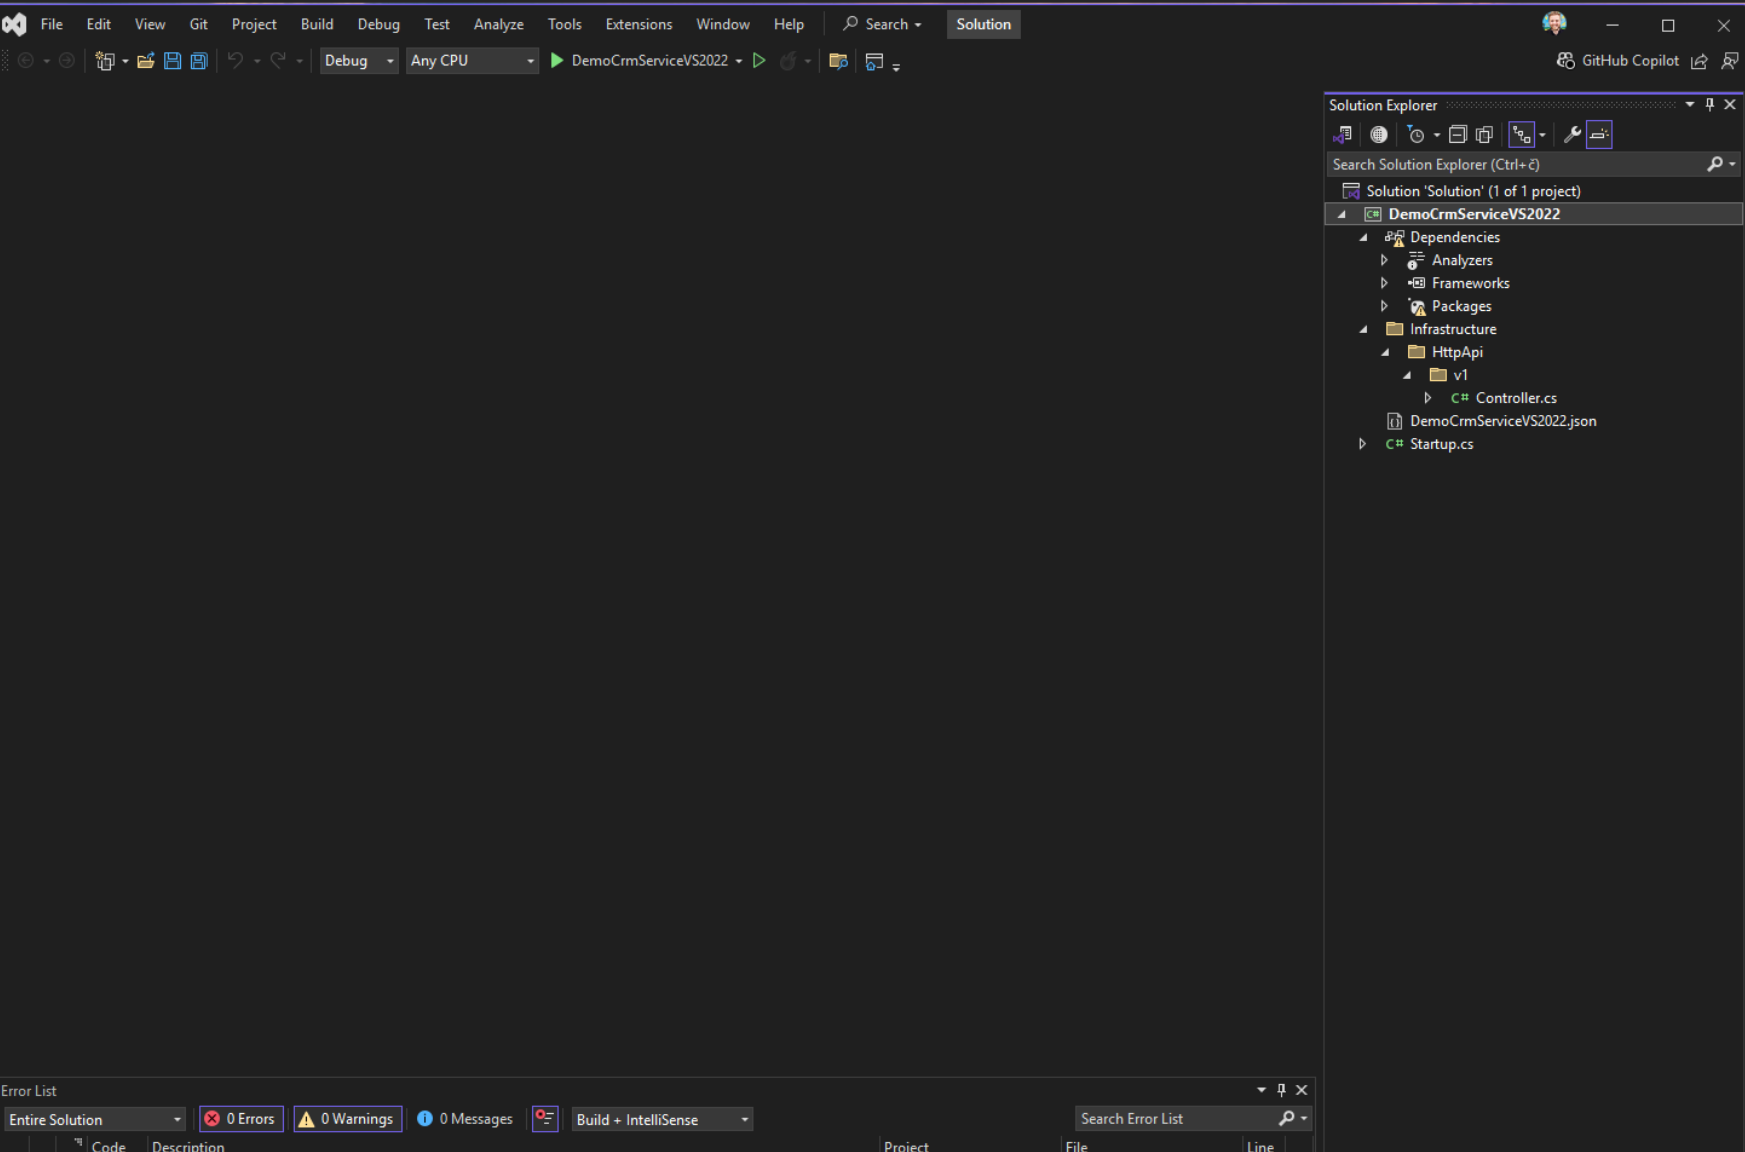
When the module is open in Visual Studio 2022+, you will see the main screen.
Next, you build the code by clicking on the build icon in the toolbar:

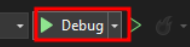
Once built, you can run the debugger in the toolbar:
Once the host application is running, then you can navigate to the server. In case below it’s http://localhost:5310.
Please note that the port is automatically assigned.
Then you can navigate to http://localhost:5310/swagger. The Default username and password for Swagger are: user/
pass and those can be configured in the Nomirun Host settings.
Now you can execute some requests with Swagger.
2.3. Develop module in Visual Studio Code
For Visual Studio Code you need to
install C# Dev Kit as
Visual Studio Code is a multi-language development tool.
If you already use Visual Studio Code for C# .NET development, then you probably do not have to do anything.
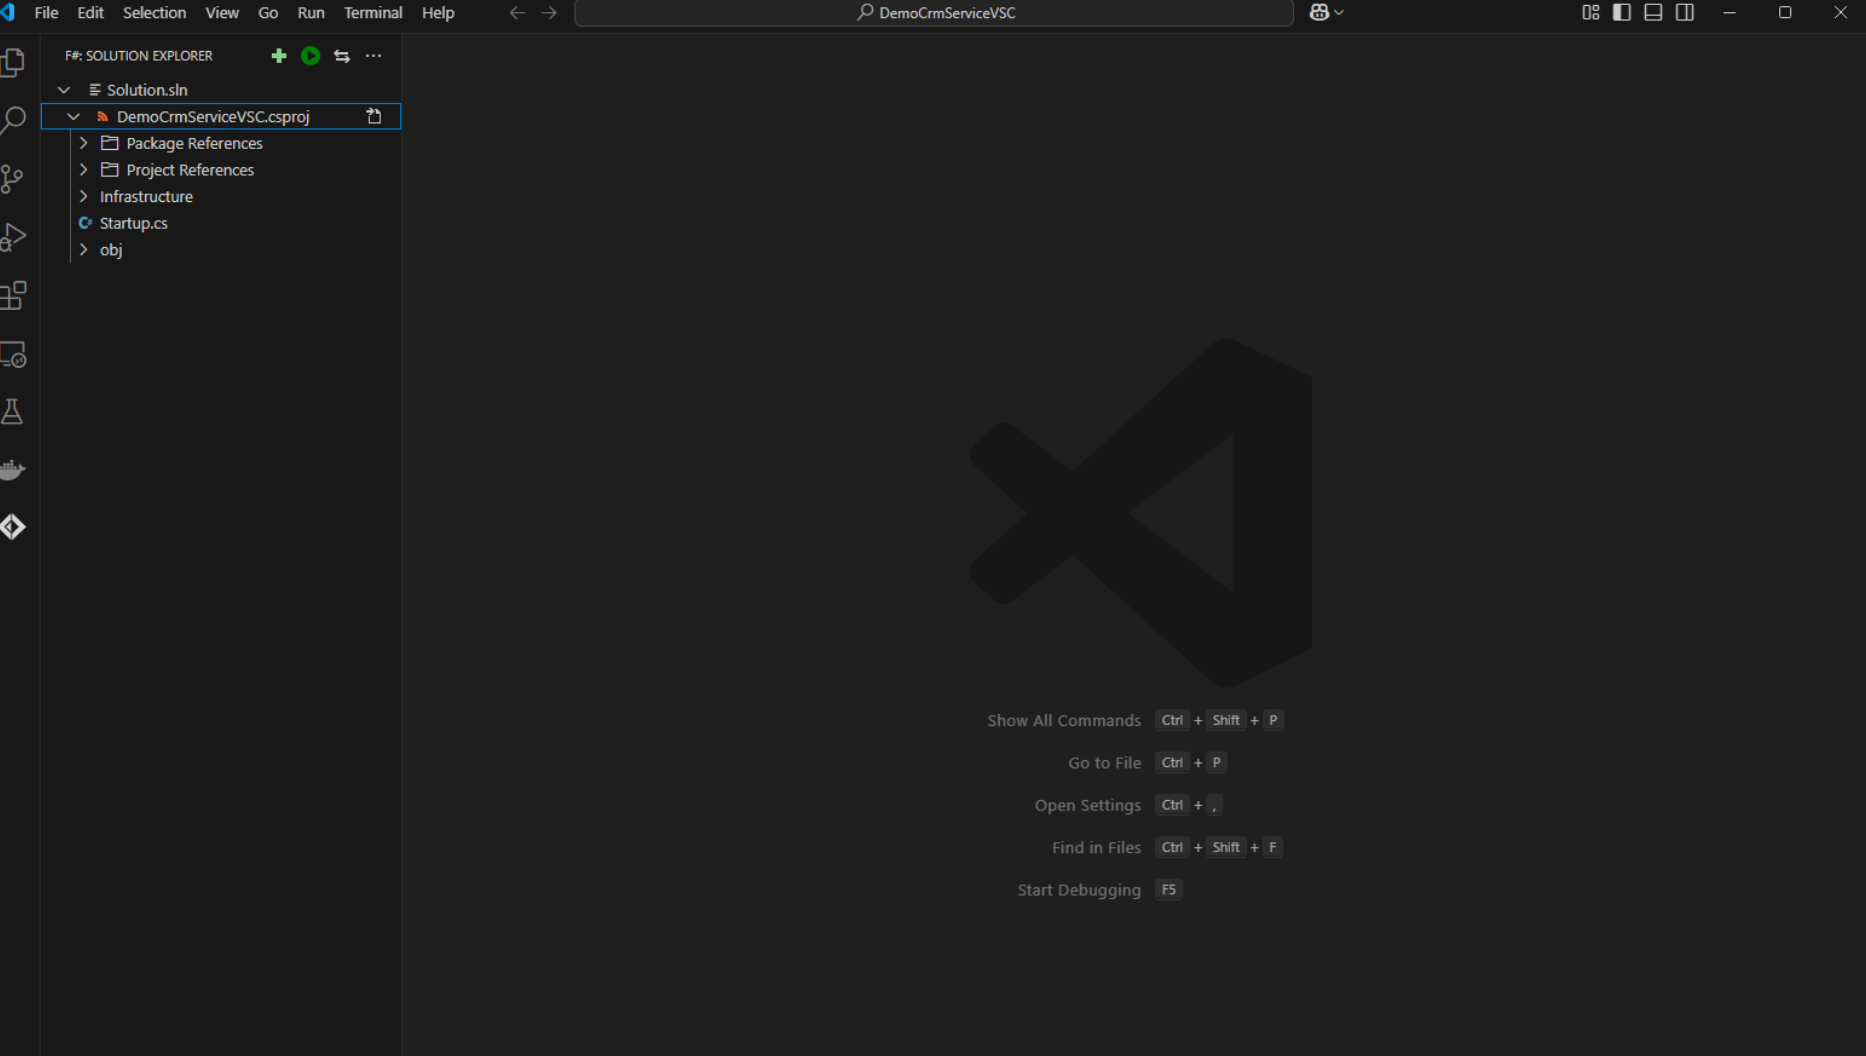
To open a solution in Visual Studio Code, you need to open the folder where your module is located. This is the main screen:
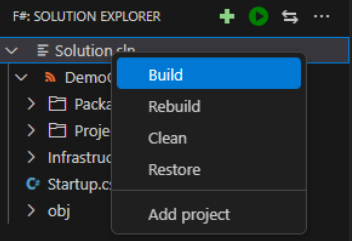
Next, you build the code by clicking on the build icon in the toolbar:
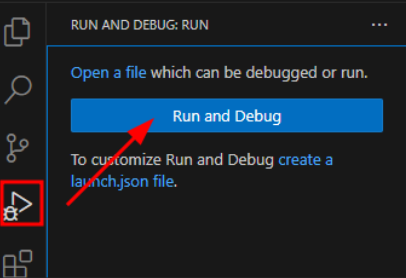
Once built, you can run the debugger in the toolbar:
Once the host application is running, then you can navigate to the server. In case below it’s http://localhost:5310.
Please note that the port is automatically assigned.
Then you can navigate to http://localhost:5310/swagger. The Default username and password for Swagger are: user/
pass and those can be configured in the Nomirun Host settings.
2.4. Clean the solution or module /bin folder(s)
From CLI version 1.12.0 and above, you can use a neat little command to clear the solution or module /bin folder(s):
❯ nomirun solution clean --solution-name MySolutionfor solution and for module:
❯ nomirun module clean --module-name CrmService